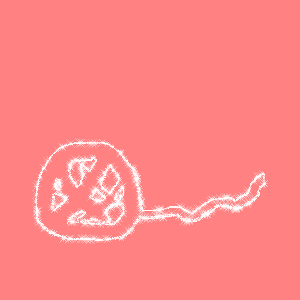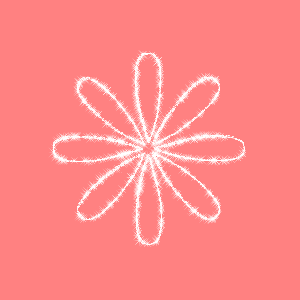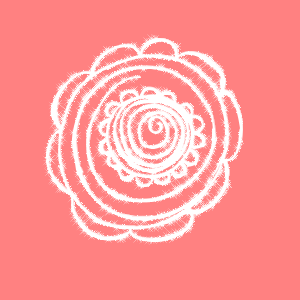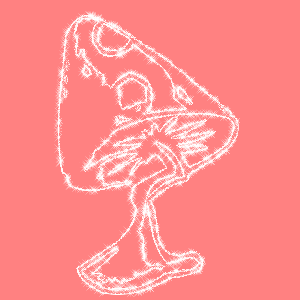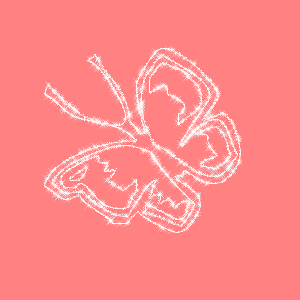
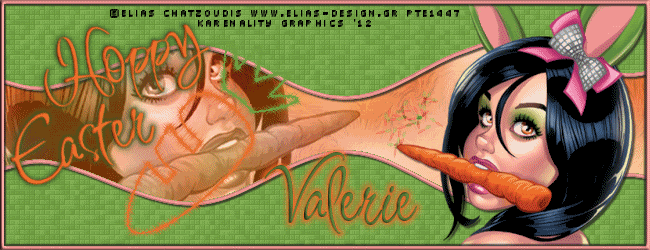
The tag below is what we will be recreating.
HOW TO Recolor and use my blings with other animations.
OK...This is easy.
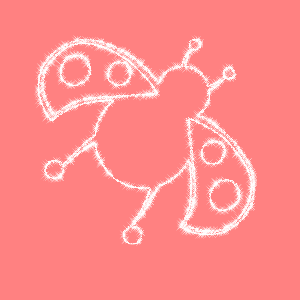
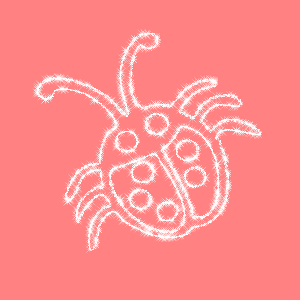
My blings consist of 3 frames.
Say like you downloaded one of Janice's animations from Jus Graphix blogspot...
We'll use the carrot animation for example.

This is what you will do:
I am writing this mini tut on creating a simple animated forum tag
using my bling that has been recolored with another animation.
This tutorial is written by me. Any resemblence to any other tutorial is strictly coincidental
and unintentional.
I am using the Cute Bunny tube from the talented artist, Elias Chatzoudis.
I got this tube from PTE found here:
Do NOT use his work without a valid license.
The carrot animation burst I got from Janice of Jus Graphix (it was one of my personal requests for her!)
Thank you Janice for your sweet Easter and Spring animations! You ROCK!
You can find her work here:
Filters used for this tutorial are as follows:
MuRa's Meister Copies
Eye Candy 4000 Swirl
Xero Fritillary
OK Let's Begin...
Open a New document 650x250 pixels
white background.
Copy and paste your main tube as new layer.
Wallpaper Rotate Preset
Number set at 15
all other settings at default.
OK
Adjust Blur Gaussian Blur set at 15
OK
Now choose a favorite color from your tube.
I am using the color Orange from the carrot #e47032.
Add a new layer and flood fill it with this color.
Eye Candy Swirl used at default setting OK
Now change the blend mode to Screen
Now choose a contrasting color from your tube. I am using the green color from her tail.
#76a549
Add a new layer and flood fill this layer with that color.
Now add the filter Xero Fritillary with these settings:
Granularity: 5
Aggression: 30
Tesselation: 10
Variation: 8
OK
Now you're going to get creative.
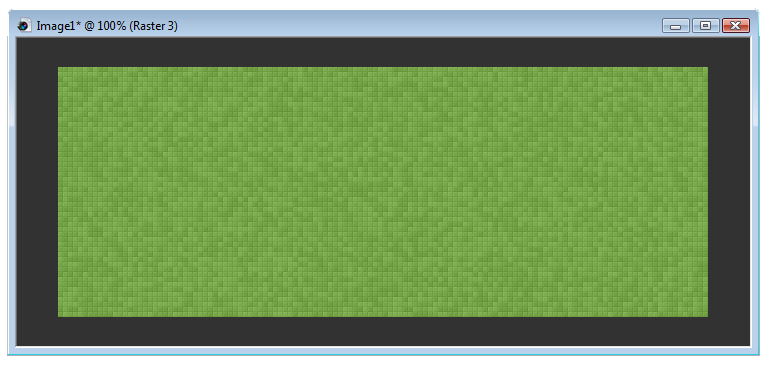
Spread out your canvass window so it looks like you have a green square surrounded by black.
Grab the lower corner when your mouse turns into an arrow facing upper left and lower right
and pull toward lower right.
(See my sample below:)
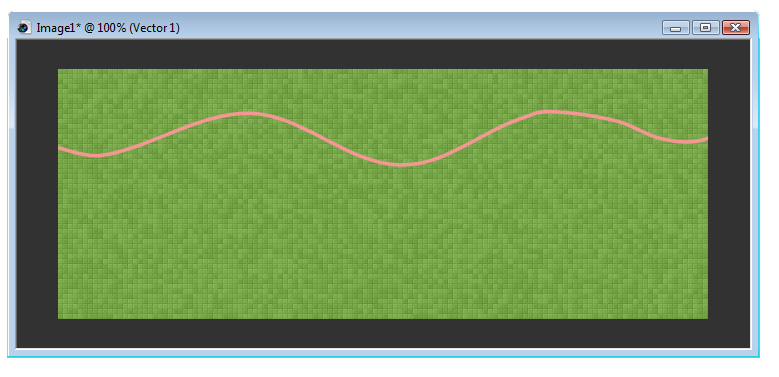
Choose another contrasting color from your tube.
I choose the pink inside her bunny ears. #f39795
Make sure this is in the Foreground palette and Null out the background.
Grab your Pen tool with these settings:
Line Style: Solid
Width: 4
Anti-Alias Checked
Draw Freehand selected
Create as Vector Checked.
Draw out a curvy line from left to right somewhere near the the top of the middle.
(see my sample below for placement):
Now Right Click on Vector 1 in your layer palette and Convert to Raster Layer.
If you like you can move your wavy line to where you want this now.
Once positioned where you want it Right click on this layer in your layer palette and Duplicate
On the Duplicate layer go to Image>Flip
Staying on your Duplicated Wavy Line Right Click on that layer in your layer palette and Merge Down
Grab your Magic Wand and click Inbetween the two wavy lines.
Once that's selected go down to your green fritillary layer and hit delete on your keyboard.
Now you should see your orange layer peeping through!
This is what we want!
Selections>Select None
Go back up to your Wavy Line layer and let's put some life into the lines.
Effects>3D Effects>Inner Bevel
with these settings:
Bevel: 2
Width: 2
Smoothness: 15
Depth: 6
Ambience: -13
Shininess: 0
Color: White
Angle: 76
Intensity: 34
Elevation: 62
OK
Effects>3D Effects>Drop Shadow
V&H: 2
Opacity: 75
Blur: 2
Color: Black
OK
Now copy and paste your tube as a new layer and move it off slightly to the right of the tag.
I added a closeup of the tube just above the orange layer, mirrored it and applied the Luminence Legacy
Blend Mode to that layer and dropped the opacity to 65
and then I copy/pasted as new layer the tube and moved it to the right.
Now add a 4 px border with the same settings you used for the wavy lines.
To do this add a new layer on the very top and flood fill with the same color you did for your wavy lines.
Selections>Select All
Selections>Modify>Contract
Number of pixels: 4
OK
Hit Delete on your keyboard.
Selections>Select None
Effects>3D Effects>Inner Bevel with the same settings as before.
Effects>3D Effects>Drop Shadow (same settings as before)
Effects>3D Effects> Drop Shadow Change V&H to -2 this time.
Now add your copyright info and any text that you want.
And then we will move on to the animations.
ANIMATING:
Open in your Animation Shop program Janice's carrots animation (or any other animation you wish to use.)
Also, open up one of my blings. I am using my carrot bling from If you notice, this particular animation is 35 frames. I am going to cull this (removing frames to make it
easier to work with).
On the first frame Edit>Select All
Animation>Cull Animation
Remove 1 frame every 2 frames
for a total of 18 frames.
OK
If 3 didn't go into 18 (6x) (if the carrot animations was an even number), I'll say with my carrot bling
you would have to change it to an even number of frames.
The best way to do this is to copy the carrot bling's middle frame and paste that frame after the last frame to make
it an even 4 frames.
But you can from the 3rd bling frame Edit>Select All then Edit>Duplicate until you have 18 frames to match the other animation.
AT THIS POINT IF YOU WOULD LIKE TO RE-COLOR YOUR BLING THIS IS HOW YOU WOULD DO IT:
Go to your first frame Edit>Select All
Animation>Replace Color
with these settings:
Replace color in Selected frames checked
Replace Old Color white checked
With New Color checked and in the little box next to it, choose your color of choice.
I am using the same orange color I used before from the tag tut in PSP
#e47032.
OK
Now you have a colored bling!
OK...Now on both animations in Animation Shop make sure you are on the first frame and all frames are selected.
Back in PSP Hide all layers but the closeup Luminance Legacy tube, the orange swirl layer, the Mura Meister blurred tube layer
and the background.
Edit>Copy Special>Copy Merged
In Animation Shop Paste As New Animation
Duplicate this until you have 18 frames to match.
Make sure on this tag in A/S (Animation shop) you're on the first frame and have all frames selected.
Then go to Edit>Propogate Paste
Go to your carrot animation (NOT the bling) and with them all selected go to Edit>Copy
On the first frame of your tag with all of the frames selected go to Edit>Paste Into Selected Frames
I pasted mine in the middle just slightly to the right.
Now, go back to your PSP program and on the closeup face layer in the layer palette right click
View>Invert
(If you have anybody's name written, Hide those layers...)
Edit>Copy Special>Copy Merged
Go back to Animation Shop and Edit>Paste Into Selected Frames
Now on the bling animation, being on the first frame and all frames selected Edit>Copy
Back on your tag in Animation Shop, being on the first frame Edit>Paste Into Selected Frames
I pasted mine in the lower left hand corner.
(I had pulled my colored carrot bling back into PSP by selecting all frames and File>Export Frames to Paint Shop Pro
(some people say they can't get this feature to work.) and in Paint Shop Pro with my newly colored orange carrot, I selected
only the top part of the carrot (the green) and colorized it green! Then I updated the frames in back in Animation Shop!)
Now test your Animation by going to View>Animation
If you're happy with it...I always save a copy for myself as a .mng and then a "blank" .gif.
But then I go back to PSP to Hide all layers and UNhide the names I'm making for myself and others...One name at a time.
Edit>Copy Special>Copy Merged and back in Animation Shop Edit>Paste Into Selected Frames.
Then save as a .gif!
TaDa!
You're done!
Hope you learned something new!
Enjoy!
~Karen